Ultimate Guide to Acrylic Pouring Techniques

Are you looking to explore new creative outlets and push the boundaries of your artistic style? Acrylic pouring can be a wonderful way to achieve this. It allows artists of any level—from beginners to professionals—to create beautiful abstract works with colourful swirls, cells, blooms, and other extraordinary effects that cannot be achieved by conventional painting alone. In this ultimate guide, we will break down all the basics of acrylic pouring techniques to help you get started on creating stunning works with ease. From what supplies you need for pouring and surface preparation tips to colour mixing strategies and details about drying processes, we've got it all covered in this comprehensive resource! So read on as we provide everything you need to know about how acrylic pouring can enhance your art-making toolkit!
Introduction to Acrylic Pouring
Acrylic pouring is an abstract art technique involving pouring thinned acrylic paint onto a surface to create beautiful, mesmerising patterns. It provides endless possibilities for creativity and self-expression and is suitable for both beginners and seasoned artists alike. Materials, techniques, and tips on how to achieve desired effects in your artwork will be covered in this article.
What is Acrylic Pouring?
Acrylic pouring is an abstract art form where acrylic paint is poured onto a surface in a controlled or random manner to create unique and mesmerising patterns. The artist can use various techniques to manipulate the paint, and the outcome is virtually impossible to replicate, giving endless possibilities for creating unique art pieces.
Brief history of acrylic pouring
Acrylic pouring can be traced back to the mid-20th century when artists experimented with different techniques for manipulating paint. Morris Louis pioneered "Stain Painting," while Helen Frankenthaler and Jules Olitski used similar techniques. The technique evolved with the development of pouring mediums for acrylic paint in the early 2000s, which led to the current popularity of acrylic pouring. Social media has become a global trend that many artists experiment with and share with each other.
Benefits of Acrylic Pouring
Here are some benefits of using acrylic pouring in your next artwork:
- Versatility - can be applied to a wide range of surfaces, including canvases, paper, wood, and ceramics
- Minimal effort - allows artists to create intricate and mesmerising designs with minimal effort
- Organic and unpredictable designs - the flow of colours creates unique and unpredictable designs
- Cost-effective - acrylic pouring can be a cost-effective alternative to traditional painting methods
- Beginner-friendly - the technique is ideal for beginners as it requires minimal experience or artistic skill
- Customizable - artists can easily customise their colour palettes and create unique colour combinations to suit their style and preferences
Materials needed for acrylic pouring
To get started with acrylic pouring, you will need a few essential materials. Here are the main materials needed for acrylic pouring:
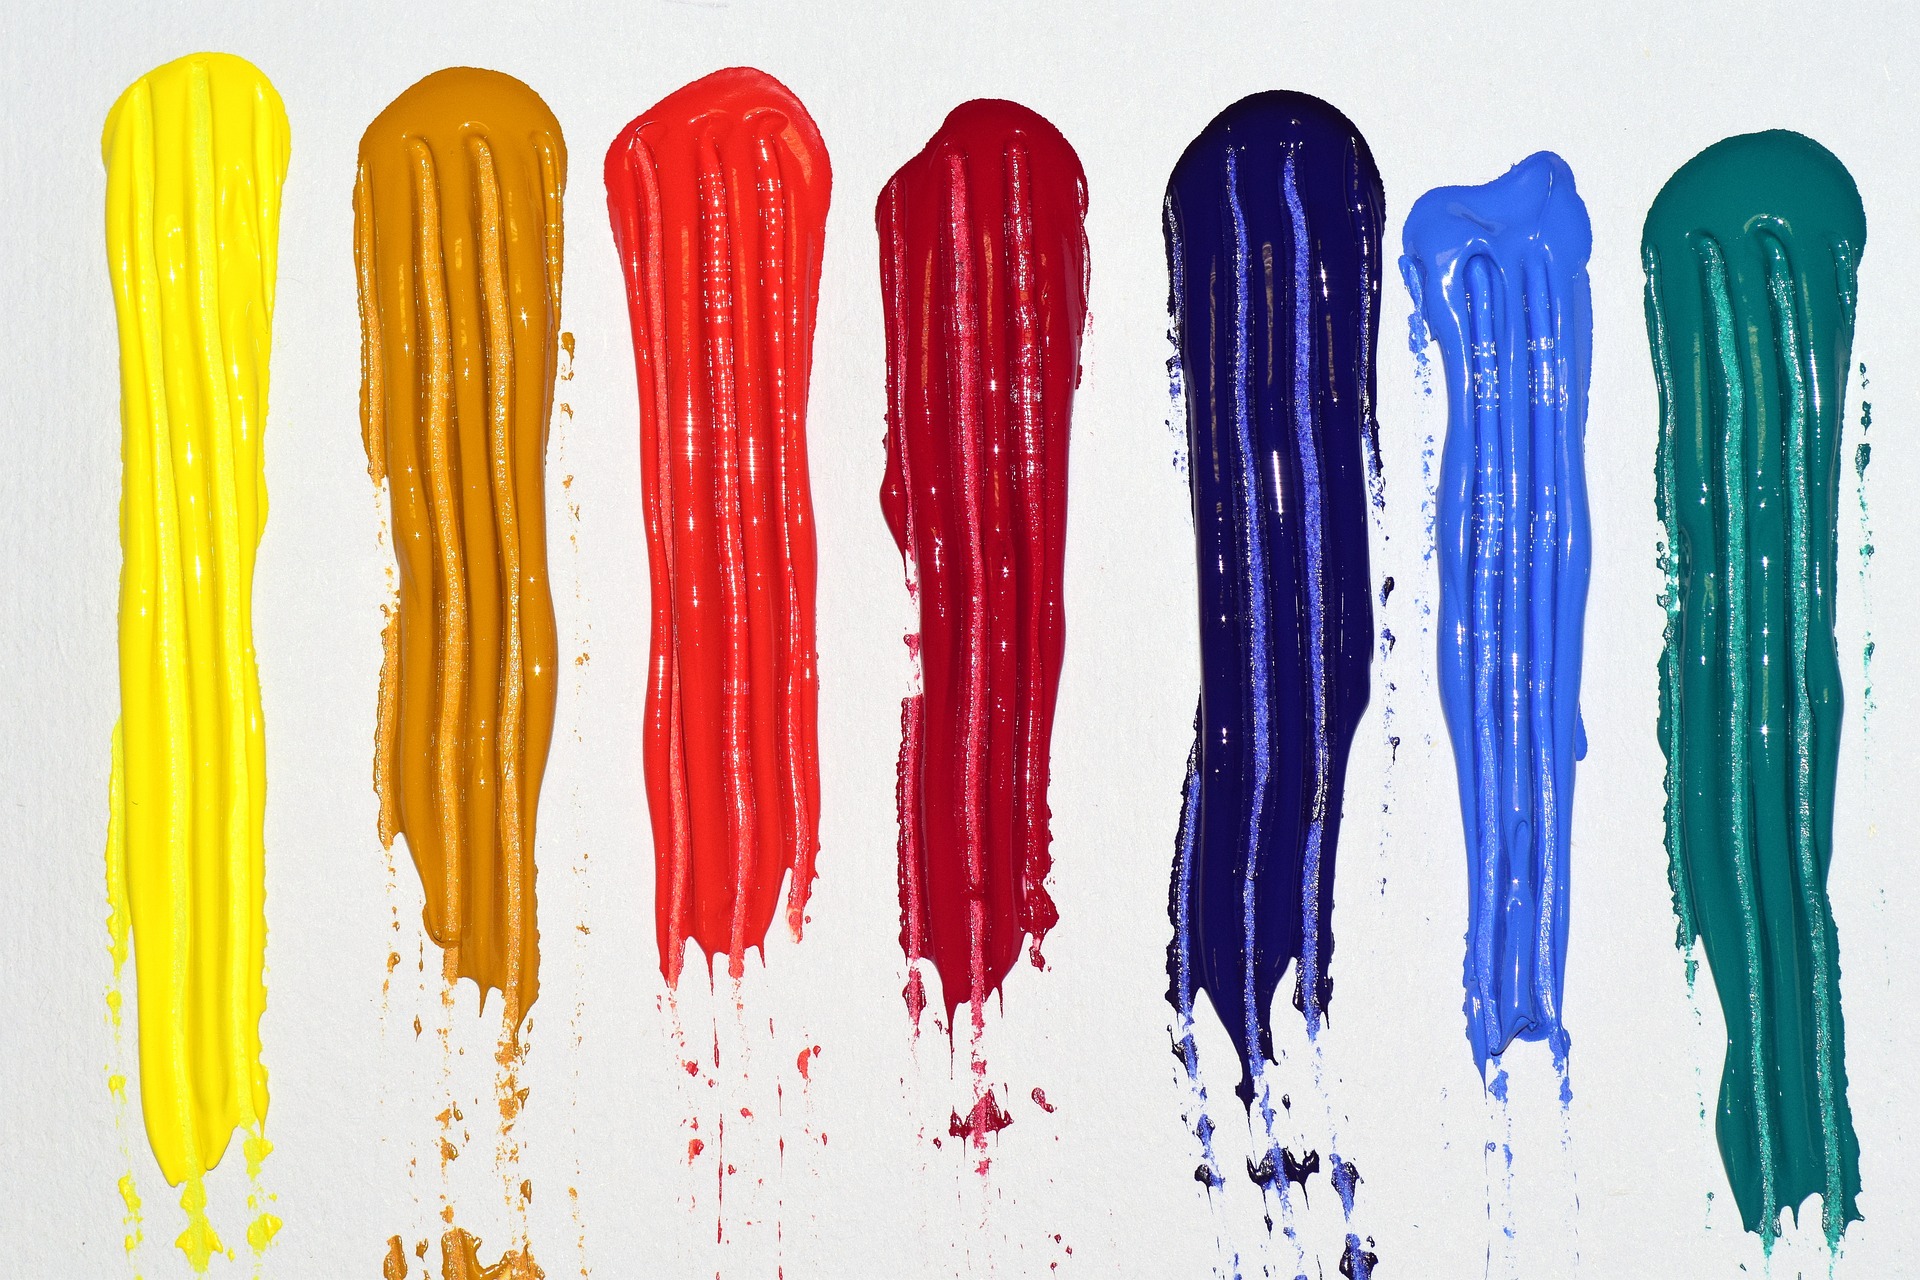
- Acrylic paints in a range of colours
- Pouring medium - a liquid that is added to the paint to help it flow and blend more easily
- Surface to pour the paint onto, such as a canvas, paper, or wood
- Mixing cups and stirrers for mixing the paint and pouring medium
- Protective gear such as gloves, aprons, or masks to keep the artist safe from any chemicals in the paint or pouring medium (optional but recommended)
- A level surface to place the artwork on to ensure that the paint dries evenly
Acrylic pouring is a creative and fun way to produce stunning works of art. To get the best results when creating your artwork, it’s important to select fluid paints with a similar consistency and a compatible pouring medium. Additionally, take your time when experimenting with different techniques, colours, mediums, and surfaces — you just might discover something amazing!
Getting Started
Preparing Your Acrylic Pouring Workspace
When getting started with acrylic pouring, the first step is preparing your workspace. Choose an area with good ventilation; acrylic paint has a strong odour and will require extra airflow when working with it. Additionally, make sure you have plenty of space to work in and that it's an area where any spills or messes can be easily cleaned up. Gather all the necessary materials and tools (e.g., paints, pouring medium, cups, stirrers) so that everything is within reach when you are ready to start painting.
Mixing Pouring Medium and Paint
Mixing pouring medium and paint is an important step in creating successful pour art. The optimal ratio is one part pouring medium to three parts paint, however, different ratios may be required depending on the desired effect. Testing out ratios with scrap paper prior to painting on a canvas helps ensure that colour intensity and saturation are just right when you start painting.
Choosing the Right Surface and Size for Acrylic Pour Art
When creating successful acrylic pour art, be sure to choose the right surface and size for your canvas. Opt for a surface that will absorb some liquid from the painting, as this can enhance texture. Select stretchable canvas or wooden panels for flexibility. Choose paints with similar consistencies and compatible pouring mediums in relation to the size of your canvas. An overly large canvas leads to thin layers, while an overly small one can result in heavy colour concentrations. Set up enough space on a flat surface so that you can produce the desired artwork safely.
Preparing the Canvas for Acrylic Pour Art
When preparing a canvas for acrylic pour art, it's important to choose a surface that will absorb some of the liquid from your painting, as this can help create texture in your composition. Consider whether a stretchable canvas or wooden panel would be more suitable and select a size relative to the amount of paint being used — an overly large canvas can lead to a thin paint layer, while an overly small one could result in a heavy concentration of colours. Before beginning your artwork, lightly sand or prime the surface, stretch and secure the canvas onto a board if necessary, and then apply two coats of gesso or another suitable primer. Doing so will ensure that every detail remains clearly visible once completed!
Basic Acrylic Pour Painting Techniques
Acrylic pour painting is a simple and rewarding way to create beautiful artwork. There are several techniques that can be used to create different effects, such as the dirty technique, the flip cup technique, and the swipe technique.
Dirty Pour
With a dirty pour, you mix different colours of paint together in a cup or container before pouring them onto your canvas. This creates interesting textures due to the interaction between colours that were previously combined in the same area.
Flip Cup
For the flip-cup technique, start by pouring large amounts of paint onto your canvas in order to form pools of colour. Then take the cup and quickly flip it over the canvas so that the paint from the inside flows out evenly across the surface. You may have to work with several cups of paint at once for the best results.
Swipe Technique
Finally, for the swipe, you must first create a puddle on your canvas, then use a tool such as an old credit card or palette knife to drag across the surface of the puddle, creating interesting patterns and shapes.
Advanced Acrylic Pour Painting Techniques
As you master the fundamentals of acrylic pour painting, a whole world of advanced methods awaits you, promising to elevate your creations to stunning new heights. From the captivating tree, and ring pours to the free-flowing puddle pours to the mesmerising cells and ethereal lacing techniques, you'll discover endless ways to showcase your artistic vision and make one-of-a-kind masterpieces.
For a tree ring pour, begin by pouring several circles of different colours onto your canvas in concentric circles. Then use a tool such as an old credit card or palette knife to pull the paint from the outside circles inward towards the centre to create rings that resemble tree branches.
The puddle pour involves simply pouring large amounts of paint onto your canvas in order to form pools of colour. Use a straw to blow air onto the pools of paint, which will cause them to spread out and interact with each other. You can also use tools such as sticks and palette knives to move around and manipulate the paint on the canvas if desired.
Cells are created when two smaller puddles come together and interact with one another. As they mix, they create swirling patterns and pockets of colour that resemble bubble-like cells on the canvas surface.
Lacing requires making a grid pattern or geometric shape out of string on your canvas before pouring multiple colours of paint into it at once. When finished, let dry for about 15 minutes before slowly pulling up the strings one at a time; this will reveal interesting shapes resembling lace patterns throughout your workpiece.
Finally, there are various artistic techniques that can be employed while acrylic pour painting, such as layering multiple colours together or using objects like leaves or feathers to make prints on your final piece. Experimenting with these techniques allows you to explore your creativity while still working within a specific medium.
Acrylic Pour Painting Troubleshooting and Tips
Troubleshooting common problems in acrylic pour painting can be tricky and overwhelming. In this article, we'll cover how to fix cracking, bubbles, and uneven colour distribution so that your artwork comes out looking amazing!
Common acrylic pouring issues and how to fix them
Acrylic pour painting is a popular way to create exciting and unique artwork. However, it can be challenging to achieve the desired results if you are new to the medium. Below are some common issues experienced by acrylic pour painters and tips on how to resolve them:
- Too much paint on the canvas - This can lead to muddy colours and a lack of vibrancy. To avoid this issue, ensure that you use enough pouring medium with your paints to prevent them from becoming too dense. It is also important not to overload your canvas as this can produce unappealing results.
- Uneven coverage - Experiencing gaps or bald spots in your work? Try applying a drop of oil on a toothbrush before brushing gently over the affected areas. This will help distribute the paint evenly across the canvas for more even coverage.
- Cells are small or not visible - To create larger cells or increase their visibility, opt for an absorbent surface such as a wooden panel or stretchable canvas which may help absorb some of the liquid while creating texture in your composition. You should also use different paints with varying consistency and viscosity levels; alternatively, combining silicone oil with your paints may increase cell size if used correctly.
Tips for Optimal Acrylic Pour Painting Results
Acrylic pour painting is an enjoyable and rewarding way to create unique works of art. Here are some tips to help ensure that you get the best results possible when working on your pieces:
- Always use quality materials and products – low-quality paints can often produce unsatisfactory results and cause issues like cracks.
- Prepare your surface before starting – this includes ensuring that it is clean, level, and primed with gesso or another primer if necessary.
- Test out different techniques on practice canvases before jumping right into your final piece – this will allow you to experiment and find what methods work best for you without worrying about ruining a valuable piece of artwork.
- To ensure safety when acrylic pour painting, use goggles, gloves and a dust mask to protect yourself from fumes and airborne particles. Prevention is essential - take the necessary steps to avoid any harm from coming your way.
By following these simple tips, you’ll be well on your way towards creating original works of art with acrylic pour painting!
How to Clean Up and Store Materials After Acrylic Pour Painting
Once you’ve finished your acrylic pour painting project, one of the most important things you can do is properly clean up and store your materials. Doing so will not only keep your space tidy and organised but also help protect your materials from damage or degradation due to dust, dirt, or improper storage.
Here are some tips on how to clean up and store materials after acrylic pour painting:
- Start by removing any excess paint from brushes or other tools with a paper towel or rag. Then use a solvent such as mineral spirits to clean them thoroughly. Make sure the tools have completely dried before putting them in storage.
- Clean any plastic containers or jars used for mixing paints with soap and water, then rinse out with clean water to ensure all soap residue is gone before storing.
- To ensure the best care for your art supplies, a quick wipe down with a reliable paper towel is recommended for paint palettes. Moreover, it is important to store your art supplies in a dry and shady place away from harsh sunlight in order to make sure that they last.
- For long-term storage, tubes of acrylic paint should be placed upside down to prevent their spouts from becoming blocked. This will also prevent any paint from accidentally spilling out if tipped over.
By properly cleaning up and storing materials after each acrylic pours painting project, you’ll be able to reuse these items on future projects and save yourself time and money!
FAQ on Acrylic Pouring
Are you new to acrylic pouring and have questions? Here are some of the most common questions concerning this art form:
Q: What is acrylic pouring?
A: Acrylic pouring is a form of abstract art that uses acrylic paints mixed with a medium to create flowing works of art. The mix is usually poured onto a canvas or other support object.
Q: How do I get started in acrylic pouring?
A: To start, all you need is some good-quality acrylic paint in several colours, a pouring medium, and whatever support surface you'd like to use. You can begin experimenting with different techniques using items like cups and even jars.
Q: Can I mix my own colours or use pre-mixed ones?
A: You can definitely mix your own colours for unique shades! However, there are also plenty of pre-mixed colours available if you prefer not to mix your own.
Q: Are some surfaces better than others for acrylic pouring?
A: Any absorbent surface can be used as a support; canvas is a popular choice, but you could also use wood, cardboard, plastic, or ceramic objects as long as they are properly prepared first.
Q: What is the best surface to use for acrylic pouring?
A: Acrylic pouring can be applied to a wide range of surfaces, including canvases, paper, wood, and even ceramics. It is recommended to choose a surface that is sturdy and can handle the weight of the paint without warping.
Q: Do I need to use a pouring medium for acrylic pouring?
A: Yes, a pouring medium is necessary for acrylic pouring. It helps thin out the paint and allows it to flow more smoothly and blend together seamlessly. Additionally, a pouring medium can help to increase the durability of the artwork.
Q: How do I create cells in my acrylic pour?
A: To create cells in an acrylic pour, you can add silicone oil to the paint mixture. The silicone creates small bubbles that rise to the surface, creating the appearance of cells. Alternatively, some artists use alcohol or heat to create cells.
Q: Can I mix different types of paint for acrylic pouring?
A: It is possible to mix different types of paint for acrylic pouring, but it is important to ensure that they have a similar consistency. Mixing paint with different viscosities can result in the paint separating and not blending together properly.
Q: How long does it take for an acrylic pour to dry?
A: The drying time for an acrylic pour depends on several factors, including the thickness of the paint, the humidity, and the temperature of the room. Typically, acrylic pours can take anywhere from 24 to 48 hours to dry completely.
Q: Can I varnish my acrylic pour?
A: Yes, varnishing your acrylic pour can help protect the artwork and give it a glossy finish. It is recommended to wait at least two weeks after the artwork has dried before varnishing.
Final Thoughts on Acrylic Pouring Techniques
Acrylic pouring is a great way to create stunning pieces of art with just a few materials. With the right art supplies, anyone can explore various techniques and uncover amazing possibilities, allowing for the creation of beautiful artwork.
No matter how experienced you are in acrylic pouring, it’s important to work slowly and carefully in order to produce the best results. Keep experimenting, and don’t be afraid to try out different techniques or combinations of techniques— who knows what kind of art you could come up with!