7 Tips for Your Next Clay Project
Clay is one of the funnest art mediums to work with, whether you’re an absolute beginner or a professional. As well as being very relaxing and great for the senses, it also gives you the opportunity to make items that you’re actually going to use such as vases, mugs, pots and plates. It’s a truly versatile way to unleash your creativity and create some awesome sculptures while you’re at it.
We’ve put together some modelling clay tips to take into consideration the next time you choose to get creative with clay.
Be sure to also check out our clay category here for all your clay needs!
1. Choose the right clay for your project
The two main types of clay that you will choose from for your project are usually oven baked polymer clay or air dry clay. Sculpey and D&L are both trusted, reputable brands with high-quality clay products.
Polymer clay is a modelling clay that’s made with a PVC base. It stays soft at room temperature and will harden when baked in the oven at the temperature recommended by the manufacturer. Polymer clay comes in a wide variety of colours and can also feature special effects like mother pearl, metallic or granite. After curing or baking the clay, its shape will be permanent. Polymer clay is usually more expensive compared to air drying clay, and can require the use of other special products like glue and surface finisher.
Air dry clay on the other hand is just as the name sounds. It will usually dry when left out over a period of 24 hours or a few days. It’s easy to handle, requires no special products, holds a permanent shape after drying and looks very professional. However, something to keep in mind is that this clay will usually shrink from five to 15 per cent when dry, and can provide inconsistent results sometimes.
2. Prepare your clay and work space
Preparing your clay is really important for making sure your end product turns out smooth and polished. Once you’ve taken your clay out of its packaging, knead it for a couple of minutes to make it soft. This is referred to as ‘conditioning’, and combines all the tiny platelets in the clay to spread them evenly and make it more workable.
In terms of work spaces, constructing a base board (a sheet of varnished wood) is the best material to go for when using clay. A sheet of 24mm marine plywood that’s been sealed on both sides is a great option, however the size you need will always depend on what project you’re working on. A 30cm by 30cm board is usually sufficient.
3. Use armatures and ‘bulking’ for extra support
If your sculpture is a little thin and delicate, there are a number of things you can do to ensure it stays in place when drying and doesn’t topple over. Bulking involves filling the internal space of a larger sculpture with materials such as foil or polystyrene and then moulding the clay around them. This not only makes your sculpture lighter, but also helps to prevent cracks and shrinkage.
Using an armature is another way to stop your clay from cracking or toppling over when drying. It can be constructed from wire, booker rod or sealed timber, and it’s best to fasten it to the base board for maximum support. Just think of it as scaffolding for your clay sculpture!
4. Store your clay properly
Sometimes, especially if your project is quite a large one, you won’t have time to finish it all in one session. To keep your piece workable for next time, wrap it in a damp tea towel and then wrap it in clingfilm to make it airtight. If you’ve done this properly, your clay should stay workable for up to four days.
If you’ve finished your project and still have clay left over that you’d like to store, wrap it in cling film, put it in an airtight container and store it in a cool, dark place. You never want to waste any precious clay, so be sure to store it properly so it doesn’t dry out and you can use it again!
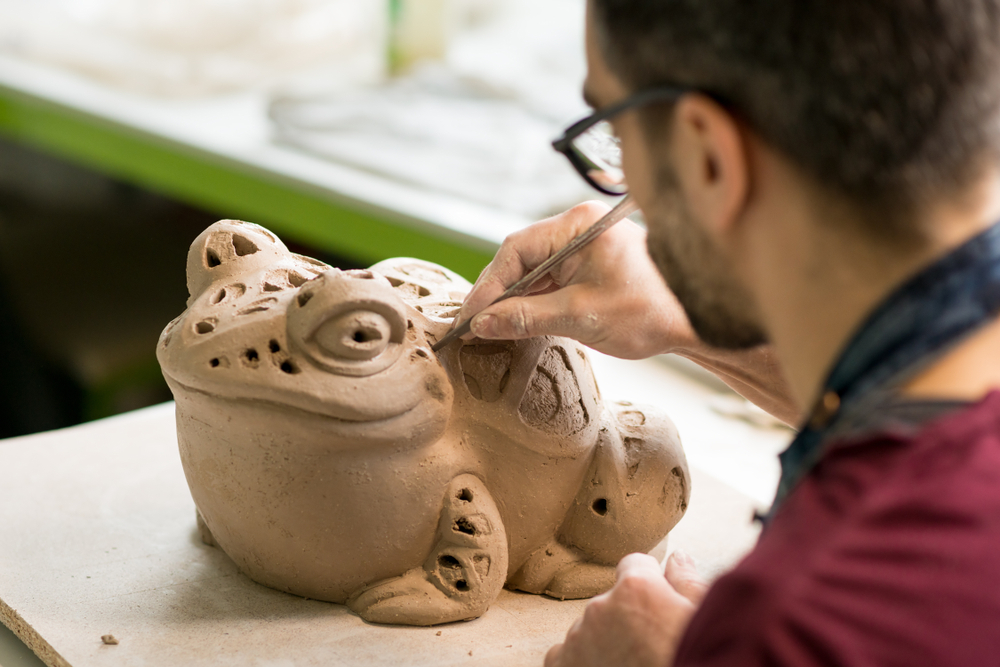
5. Decorate to your heart’s content
Adding colour and decoration to your clay is the final (and often funnest) part of creating your sculpture. We recommend using acrylic paints as they have a great consistency for painting sculptures and will provide good coverage on the surface. Painting your sculpture with a grey mix before any other colour will provide a good base coat and really make your colours pop.
Getting creative with clay
Clay is an awesome activity for indulging your creativity, as well as a great one for the kids. Use your imagination to create anything your heart desires - from plates, to vases, to mugs, to dragons and unicorns. We hope you've enjoyed these modelling clay tips!
Discount Art n Craft Warehouse stocks a range of different clays and clay accessories for whatever clay project you’re turning into your next masterpiece.