Drawing with Oil Pastels: Unleash Your Creativity
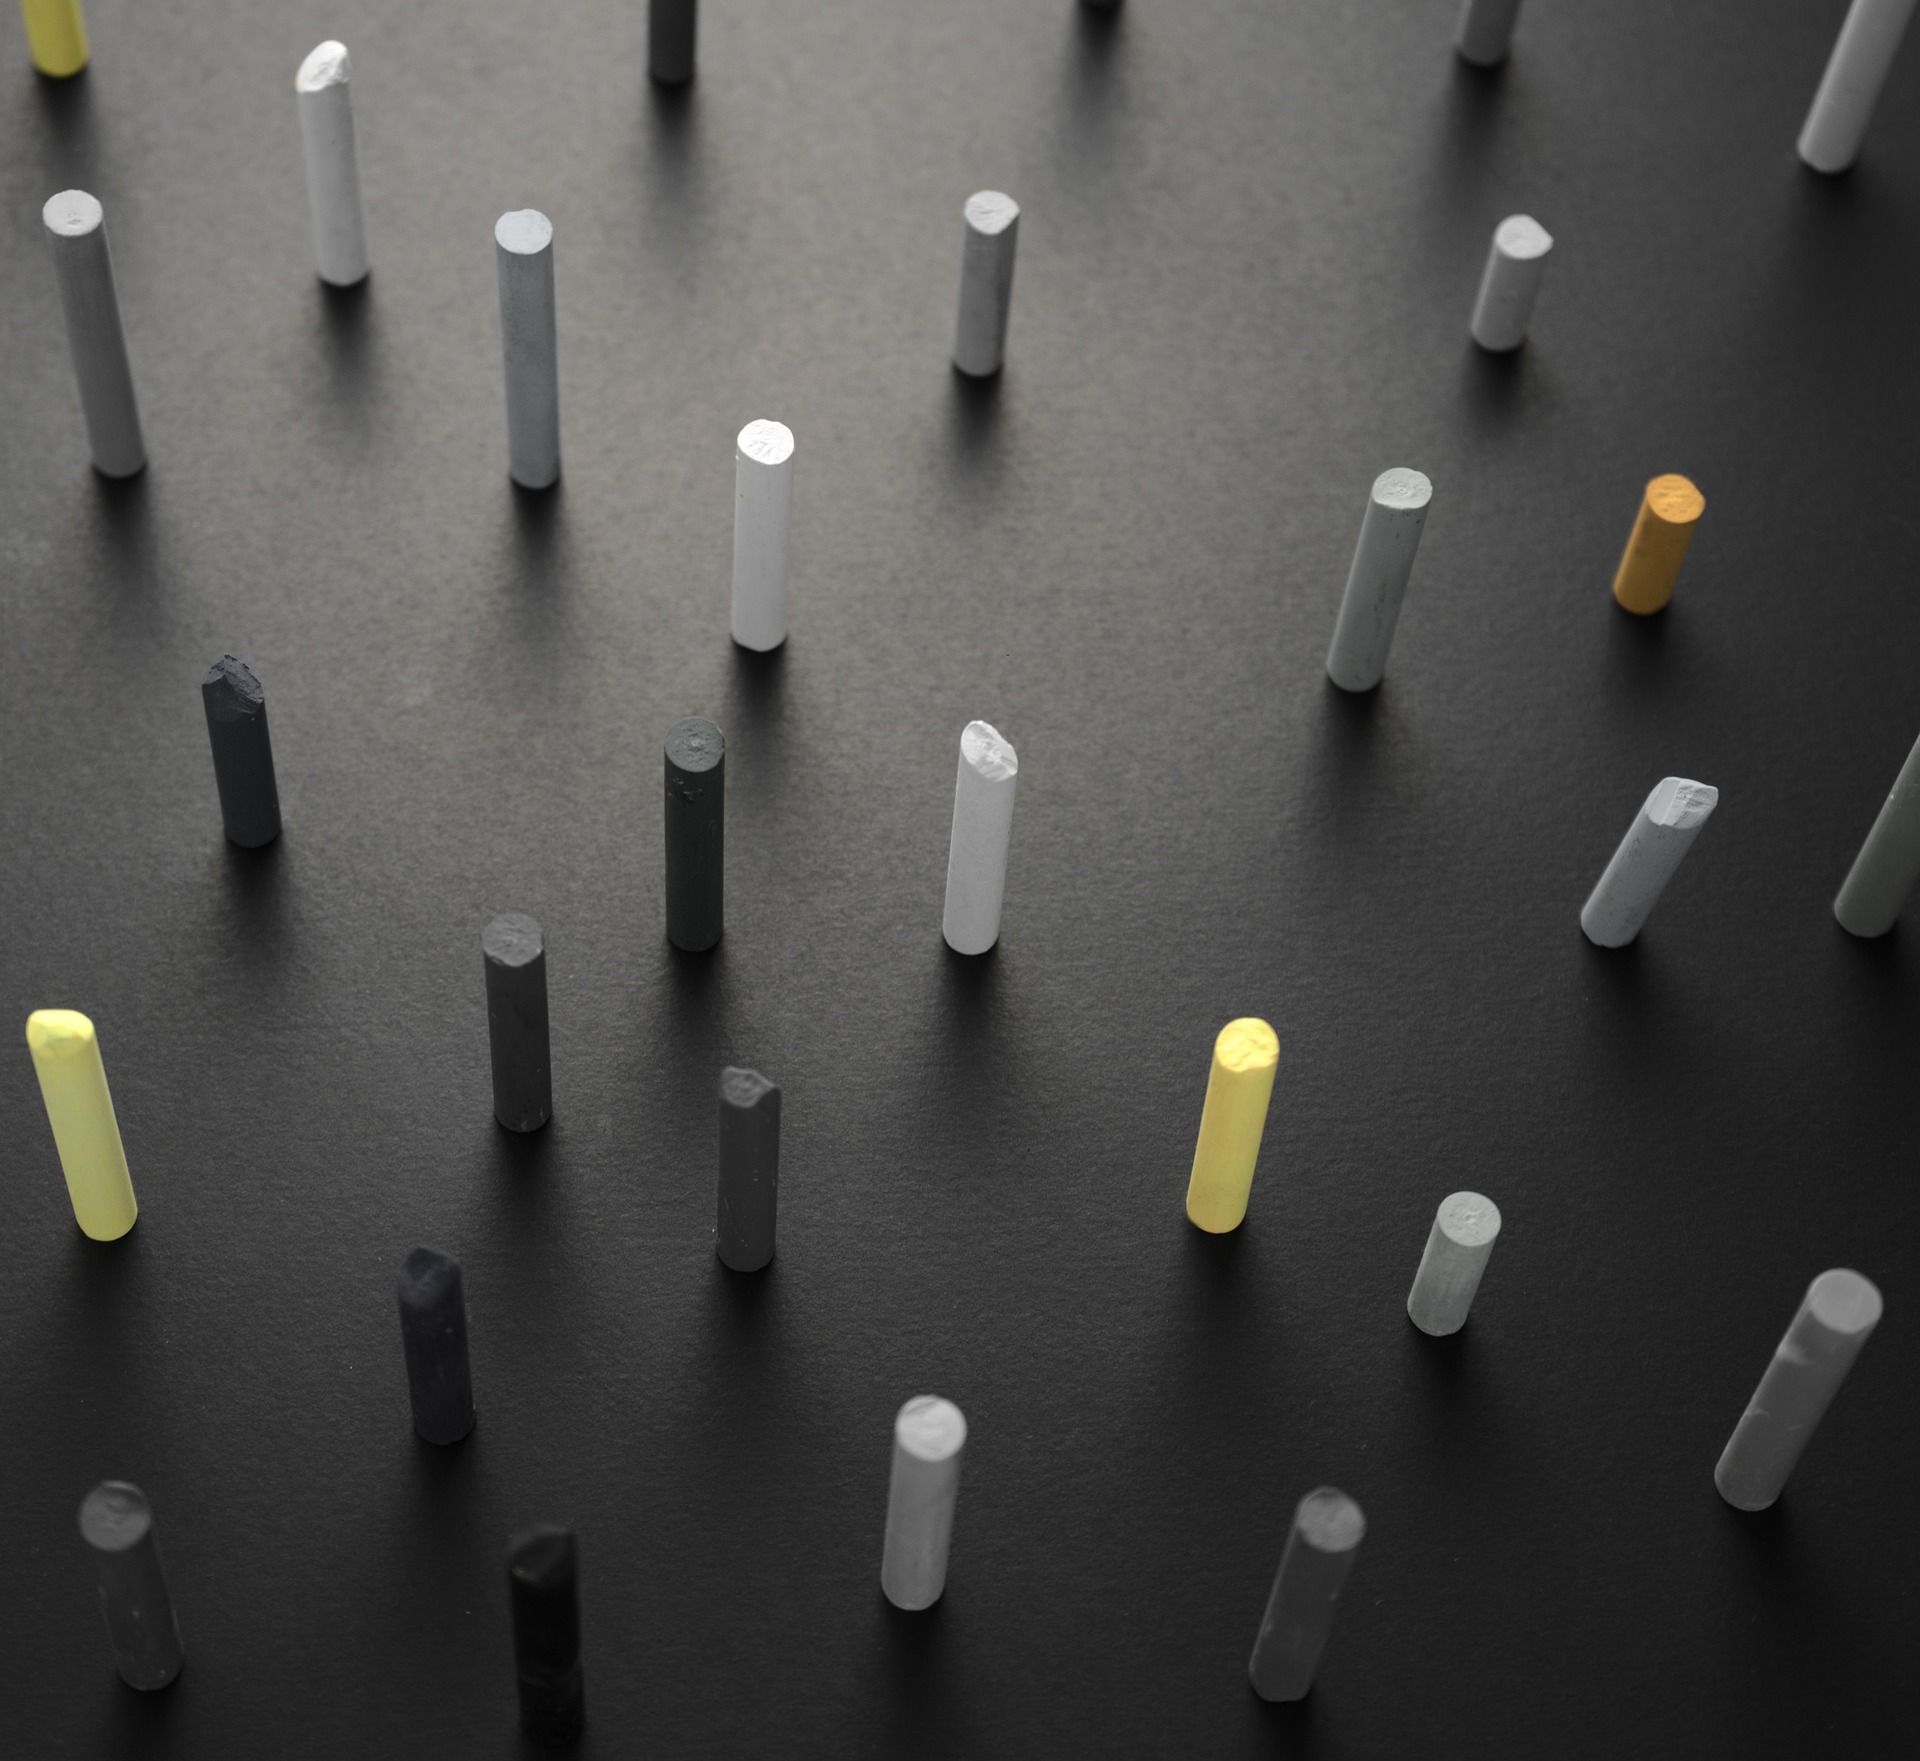
Oil pastels are a popular medium used by artists for creating drawings and paintings. Composed of a blend of pigment, wax, and oil, they are recognised for their vivid hues and velvety texture.
To use oil pastels, an artist needs a few key materials, including oil pastels (of course), paper, a paper towel or cloth for blending, and a fixative spray to protect the finished artwork.
With their blendability and versatility, oil pastels can be used to create realistic or abstract pieces and are often preferred over other mediums for their bold, vivid colours.
Getting Started Drawing With Oil Pastels:
Oil pastels can be a fun and rewarding medium to work with, but getting started may seem overwhelming. Here are some tips to help you begin your oil pastel journey:
Choosing the Right Paper
When working with oil pastels, it's important to choose the right paper. Look for a heavier weight paper or a specifically designed oil pastel paper, as they can handle the heavy application of oil pastels and prevent the paper from warping. Some popular choices include pastel paper, sanded paper, or even watercolour paper.
Sketching and Outlining
Before diving into the final piece, take the time to sketch out an idea or composition. This can be done lightly in pencil or directly with the oil pastels themselves. Sketching out the composition can provide a clearer understanding of the colour palette and object placement, ultimately preventing errors and saving time. If you do not prefer to sketch out your composition before applying oil pastels, you can start with a neutral colour like white, create an underpainting, and then build on top of it with colour.
Remember to be careful not to press too hard with your pastels, especially if your sketch is in pencil, as the graphite will smudge. Additionally, oil pastels do not erase like a pencil does, which means that any marks made with oil pastels will be visible in the final piece.
With these tips in mind, you'll be ready to start creating beautiful pieces with oil pastels in no time!
Basics of Working with Oil Pastels
Now that you have chosen your paper and sketched out your composition, let's move on to the basics of applying oil pastels. Here are some fundamental techniques to keep in mind:
Layering Techniques
Oil pastels possess the distinctive characteristic of being able to layer atop one another. This means you can build up depth and texture in your work by gradually adding layers of colour. To create a layered effect, start by applying light pressure to the paper with your pastel and gradually increasing pressure as you add more layers.
Blending Techniques
Blending oil pastels creates a smooth transition between two colours and can be done with your fingers, blending tools, or even a cloth. To blend with your fingers, lightly rub two colours together until they create a smooth transition between the shades. Blending tools are helpful for creating more complex gradients and can also create different textures based on the tool used.
Scumbling Techniques
Scumbling is a technique that involves using broken, scumbling strokes to create texture in a piece. To scumble with oil pastels, use the side of the pastel and apply light pressure to the paper with quick strokes. Repeat this process with different colours to create a layered and textured effect.
Don't be afraid to experiment and play around with these techniques to discover your own unique style with oil pastels. With practice and patience, you can create beautiful and vibrant pieces that showcase the unique qualities of this medium.
Creating Your Drawing with Oil Pastels
Now that you have learned the basics of working with oil pastels, let's put those skills to use and create a drawing! Here are some step-by-step instructions for drawing a landscape, portrait, or still life, depending on your preference:
Landscape
- Start by sketching out the composition and objects in your landscape.
- Begin by applying the lightest colours first, being mindful of highlights and shadows.
- Use scumbles and layering to build up the texture and depth of the landscape.
- Blend colours together to create smooth transitions and gradients.
- Continue to add layers and details until you achieve the desired look and feel.
Portrait
- Sketch out the composition and proportions of the face.
- Start with the areas of the face that are the lightest in colour and work your way up to the darkest.
- Use the scumbling technique to add texture to the skin.
- Blend colours and create shadows to add depth and dimension to the facial features.
- Continue to refine and add detail until the portrait looks realistic and lifelike.
Still Life
- Set up the still life composition and sketch it out on paper.
- Begin by applying the base colours of the objects in the still life.
- Use the scumbling technique to create texture and depth in the objects and background.
- Blend colours and experiment with layering to create a sense of dimension in the still life.
- Continue to refine and add detail until the still life looks realistic and visually interesting.
Tips and Tricks
- Use a fixative spray between layers to prevent smudging and protect your artwork.
- Experiment with using complementary colours to create vibrant and interesting colour schemes.
- Blend colours and layering techniques to create unique and complex textures.
- Explore different types of papers and surfaces to add even more depth and interest to your artwork.
Remember, practice makes perfect! Keep on experimenting and trying new techniques to find the style that works best for you. With time and patience, you will become a skilled oil pastel artist.
Clean Up and Final Thoughts
Congratulations on finishing your oil pastel artwork! Here are some final tips and ideas to help you wrap up your project:
Tips for Cleaning Up
- Use a clean cloth or paper towel to wipe down your workspace and remove excess pastel dust.
- Cleanse your hands meticulously with warm water and soap to eliminate any remaining pastel residue.
- Store your oil pastels and paper in an organised and safe place.
Ideas for Displaying and Protecting Finished Work
- Use a fixative spray to protect your artwork from smudging and to preserve the vibrant colours.
- Consider framing your artwork to protect it from dust and damage.
- Display your artwork in a well-lit area that highlights the intricate textures and details.
Inspiration for Future Projects
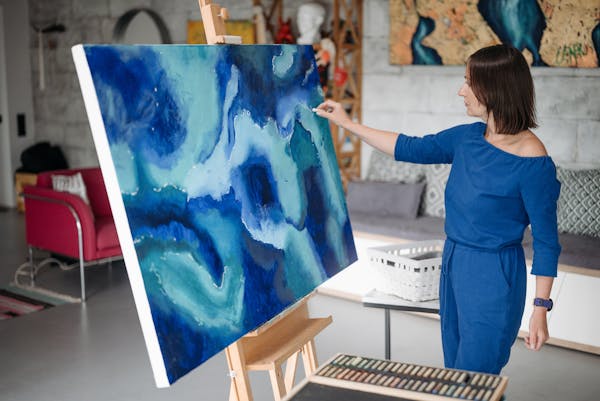
- Experiment with different colour schemes and techniques to create unique and interesting compositions.
- Try using oil pastels in combination with other mediums, such as watercolour or acrylic paints.
- Take inspiration from nature, architecture, or everyday objects to create interesting and visually dynamic pieces.
Remember to have fun and enjoy the process of working with oil pastels. With practice and patience, you will be able to create beautiful and captivating artwork.
Conclusion
Working with oil pastels can be a rewarding and enjoyable experience. Here's a quick recap of the benefits of working with oil pastels:
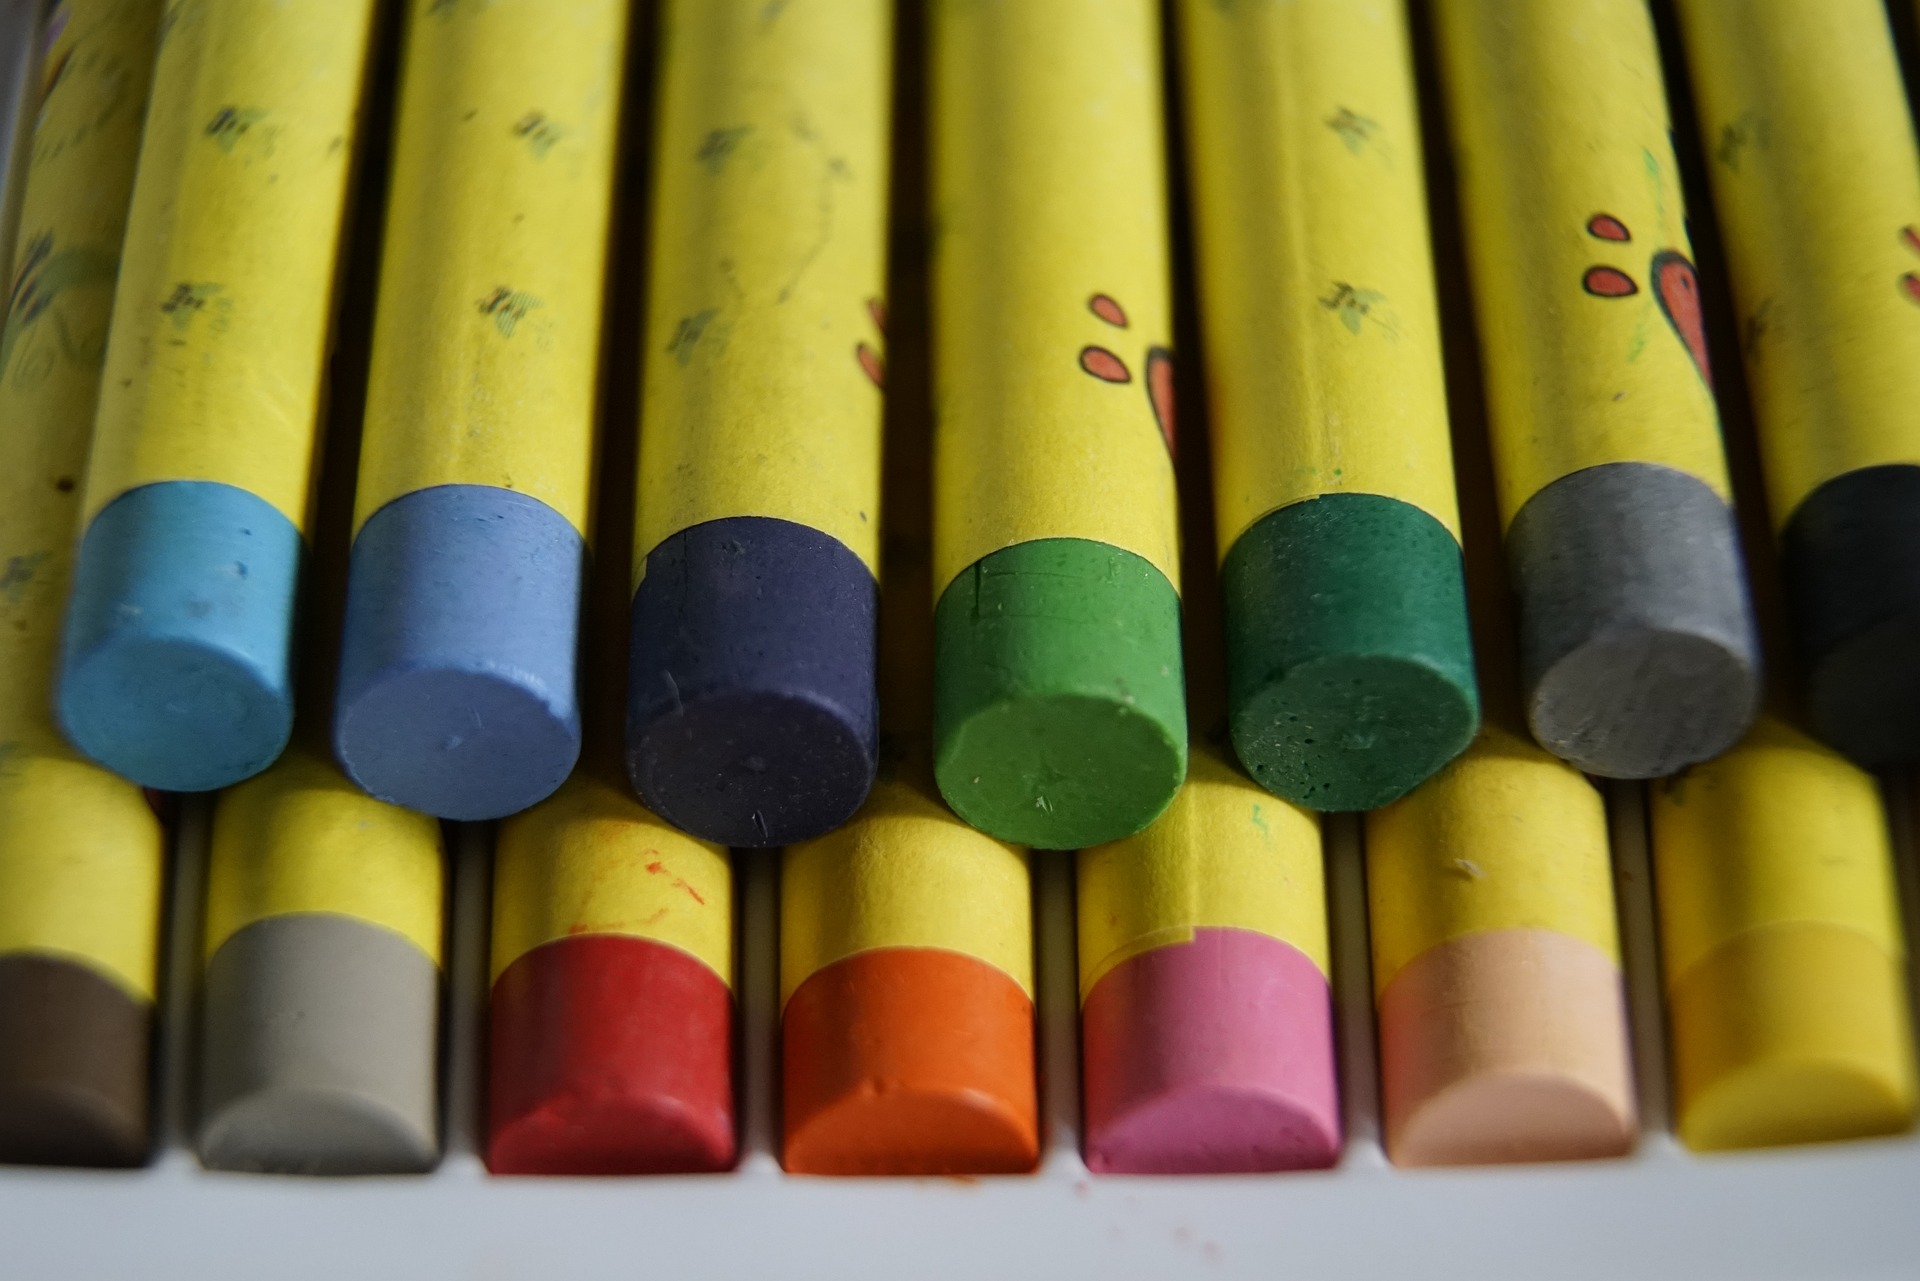
- Vibrant and intense colours
- Blendable and layerable for creating a sense of depth and texture.
- Creates a unique and interesting surface texture.
- It is easy to use and does not require any additives, solvents, or tools.
Remember to continue experimenting, exploring diverse techniques and colour combinations, and above all, enjoying the process! Art is about expression, and working with oil pastels allows you to experiment with different styles and approaches. So whether you are a beginner or an experienced artist, keep creating and pushing yourself to new levels. With time and practise, you will see your skills improve, and your creativity flourish.
FAQs on Drawing With Oil Pastels
What are oil pastels and how do they differ from other types of pastels?
Answer: Oil pastels are a type of art medium made of pigment, wax, and an oil binder. They differ from other types of pastels in that they contain a higher wax content, which gives them a creamy texture and allows them to be blended with ease.
What surfaces can be used with oil pastels?
Answer: Oil pastels can be used on a variety of surfaces, including paper, canvas, wood, and cardboard. It's recommended to use a surface with some texture to help the pastel adhere to the surface.
How do I blend oil pastels?
Answer: Oil pastels can be blended by using your fingers, a blending stump, or a blending tool. Blending can create smooth transitions and interesting effects.
Can oil pastels be layered?
Answer: Yes, oil pastels can be layered on top of each other to create depth and dimension. The layering process can also blend colours and create unique effects.
How do I fix oil pastel drawings to prevent smudging?
Answer: To fix oil pastel drawings and prevent smudging, use a fixative spray designed for pastels. Apply the spray in thin layers, letting each layer dry before adding another.
Can oil pastels be used in combination with other art mediums?
Answer: Yes, oil pastels can be used in combination with other art mediums such as acrylic paints, watercolours, and coloured pencils. This allows for unique effects and textures to be created.