Creative Easter Art Activities for Kids

As Easter approaches, parents and educators alike are on the lookout for engaging activities to keep children entertained and foster their creativity. Easter-themed art projects are not only enjoyable but also provide an excellent opportunity for kids to explore their imagination, develop fine motor skills, and learn about the significance of the holiday. From egg decorating to making adorable bunny crafts, here are some delightful Easter art activities guaranteed to bring joy and colour to your little one's holiday season.
1. Egg Decorating Extravaganza
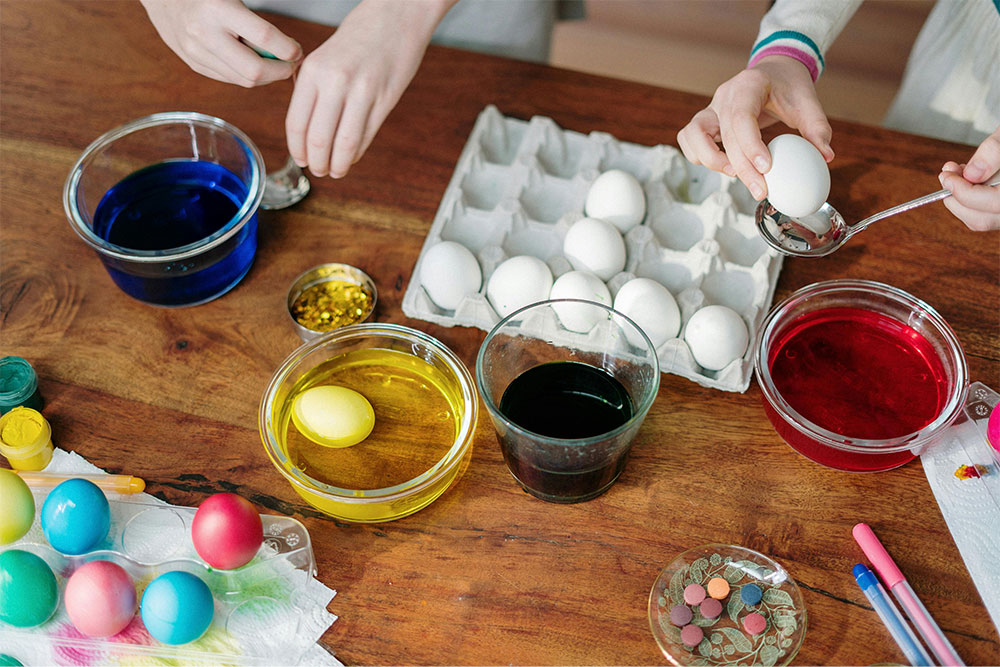
Egg decorating is a classic Easter tradition that never fails to excite children. Get a dozen eggs, hard-boil them, and let the artistic journey begin! Provide an array of materials such as watercolour paints, markers, stickers, glitter, and ribbons for decorating. Encourage kids to unleash their creativity by painting intricate designs, creating patterns, or even turning the eggs into their favourite characters. The possibilities are endless, and the results are sure to be egg-cellent!
What you'll need:
-
Eggs: Start with hard-boiled eggs as the canvas for your decorations. You can also use artificial eggs or egg-shaped craft materials if you prefer to keep your creations longer.
- Markers: Use fine-tip markers for precision, or broad-tip markers for covering larger areas.
- Acrylic Paint: Acrylic paints work well for decorating eggs. Choose a variety of colours to bring your designs to life.
- Ink: Inks can be used as another option to paint / dye eggs.
- Brushes: Fine paintbrushes are essential for intricate designs and details.
- Glitter: Add sparkle to your eggs with glitter glue or loose glitter.
- Ribbons and embellishments: Use ribbons, sequins, and other decorative elements to adorn your eggs.
- Adhesive: Craft glue or a hot glue gun are handy for attaching embellishments securely.
- Protective Covering: Gloves, Aprons, Disposable Tablecloth
2. Bunny Mask Making
What's Easter without adorable bunnies? Transform ordinary paper plates into charming bunny masks that kids can wear for their Easter festivities. All you need are paper plates, markers, cotton balls, pipe cleaners, and glue. Let children decorate the plates with bunny faces, adding whiskers, a nose, and floppy ears. Attach pipe cleaners for the whiskers and glue on cotton balls for a fluffy tail. Once complete, watch as your little ones hop around with joy in their handmade bunny masks.
What you'll need:
- Paper Plates: Select sturdy paper plates as the base for your bunny masks. The size of the plates will determine the size of the masks, so choose accordingly.
- Markers or Paint: Use markers, acrylic paint, or tempera paint to add facial features and designs to the bunny masks. Opt for pastel colours or vibrant hues to make your masks stand out.
- Pipe Cleaners: Pipe cleaners are perfect for creating bunny whiskers. Choose colours that complement your mask designs.
- Glue: Craft glue or a glue stick will securely attach the cotton balls, pipe cleaners, and any other embellishments to the masks.
- Scissors: You'll need scissors to cut out eyeholes and other shapes from the paper plates. Ensure adult supervision, especially when children are handling scissors.
- Googly Eyes: Add a playful touch to your bunny masks with googly eyes. These self-adhesive eyes are easy to use and come in various sizes. (optional)
- Ribbon or Elastic: Attach ribbon or elastic bands to the sides of the masks to hold them in place. Measure the length needed to fit comfortably around the wearer's head.
- Decorative Accessories: Get creative with additional decorations such as sequins, pom-poms, felt shapes, or paper flowers to embellish your bunny masks further.
3. Autumn Finger Painting Fiesta
Capture the enchanting colours of fall with a lively finger painting activity. Set the stage with washable finger paints, ample sheets of paper, and a stack of wet wipes for effortless tidying. Invite children to immerse their fingers in the paint and craft vibrant scenes inspired by autumnal wonders such as falling leaves and cosy harvest landscapes. Finger painting grants kids the freedom to delve into various textures and play with blending hues, yielding one-of-a-kind masterpieces that echo the spirit of the season's splendour.
What you'll need:
- Washable Paints: Choose non-toxic, washable finger paints specifically designed for children. These paints are safe for little ones to use and easy to clean up from skin, clothing, and surfaces.
- Large Sheets of Paper: Provide ample space for creativity by using large sheets of heavyweight paper or rolls of butcher paper. Alternatively, you can use an easel or paint pad designed for finger painting.
- Protective Covering: Lay down newspaper, a disposable tablecloth, or a plastic drop cloth to protect your workspace from paint spills and splatters.
- Wet Wipes or Damp Cloths: Keep wet wipes or damp cloths handy for quickly wiping paint off hands and surfaces as needed. They're essential for keeping the painting session tidy and stress-free.
- Paintbrushes: While finger painting primarily relies on hands and fingers, you can provide paintbrushes for children who want to experiment with different techniques or add fine details to their artwork. (Optional)
4. Easter Egg Hunt Art
Combine the thrill of an Easter egg hunt with the creativity of art-making by hiding plain white eggs throughout your yard or indoor space. Once found, children can use markers, paint, and stickers to decorate their discovered eggs. This activity adds an exciting twist to traditional egg decorating and encourages kids to explore their surroundings while unleashing their artistic talents. Plus, it's a fantastic way to keep the Easter celebration going long after the hunt is over.
What you'll need:
- Eggs: Start with hard-boiled eggs as the canvas for your decorations. You can also use artificial eggs or egg-shaped craft materials if you prefer to keep your creations longer.
- Basket or Bag: Each participant will need something to collect the eggs in. Traditional Easter baskets are ideal, but any bag or container will work.
- Art Supplies: Consider decorating the area where the egg hunt will take place with Easter-themed decorations such as bunnies, chicks, and pastel-coloured streamers.
- Prizes: You might want to have prizes for participants who find the most eggs, or you could give everyone a small prize at the end of the hunt.
5. DIY Easter Cards
Spread Easter cheer to family and friends by creating personalised DIY Easter cards. Provide children with card stock, markers, coloured pencils, stickers, and embellishments to design their own festive cards. Encourage them to incorporate Easter-themed imagery such as eggs, bunnies, chicks, and flowers. Whether it's a simple "Happy Easter" message or a heartfelt note, handmade cards add a personal touch to the holiday and serve as cherished keepsakes for loved ones.
What you'll need:
- Card stock or paper: Choose sturdy paper or card stock as the base for your cards. You can use pre-made blank cards or cut your own from larger sheets.
- Scissors or Paper Trimmer: These will be essential for cutting paper and card stock to the desired sizes and shapes.
- Glue or Adhesive: Use glue sticks, double-sided tape, or liquid glue to adhere paper and embellishments to your cards.
- Markers, Pens, or Coloured Pencils: These are useful for writing messages, drawing designs, or adding accents to your cards.
- Envelopes: Don't forget envelopes to enclose your finished cards. Make sure they fit the size of your cards.
- Patience and Creativity: Most importantly, bring your creativity and patience to the project. Experiment with different techniques and have fun designing your Easter cards!
